Last updated on 2023-05-17, by
How to Screen Record on Mac & Further Tips
There are always cases in which you might need to screen record on a Mac computer, such as recording gameplay on Mac, recording a training video, recording an online video, recording a Zoom meeting, and more. You may be looking for solutions to record a screen on Mac with audio. That’s why you have come here. This guide will share how to record screen on Mac with audio, from either computer drives or microphone sound. You will learn how to screen record on Mac with a screenshot toolbar, browser add-on, and effective solutions to help you download online videos rather than recording.
Outline
Solution 1: How to screen record on Mac with screenshot toolbar
Generally speaking, to record a screen on Mac with audio, you have to download and install 3rd-party screen recorder software tools. However, have you ever noticed that Mac has a built-in screen recording feature? If you are using iOS Mojave and later, you can use hotkey to trigger the Screenshot Toolbar for screen recording on Mac with audio quickly. You don’t need to download any other apps, and it is totally free.
To screen record on Mac with audio by using the Screenshot Toolbar, you could follow the guides below.
Steps:
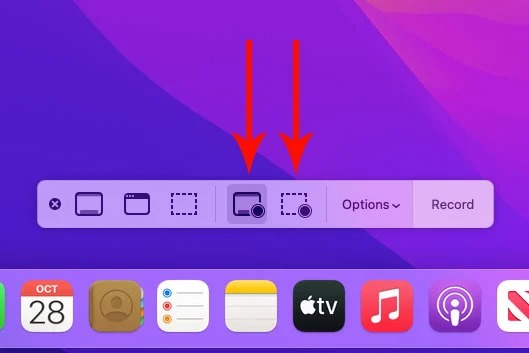
- Press “Command + Shift + 5” to activate Screenshot Toolbar.
- Click “Options” to adjust the recording settings, including storage location, timer, microphone, etc.
- Choose “Record Entire Screen” and press the “Enter” key on your keyboard to start recording. Or select “Record Selected Portion”, drag to adjust the area you want to record, and hit “Record”.
- Once the recording starts, the control bar will disappear automatically. To end the recording, you can hit the Stop icon in the menu bar or simply press the “Command + Control + Esc” keys on the keyboard.
- After you stop recording, the thumbnail of your recording will appear at the bottom right of your screen for 3 seconds. You can swipe right or do nothing to save it. Or you can click on it to trim and share.
It should be noted that the Screenshot Toolbar will only record audio from the microphone. It cannot record internal audio, such as the sound from a video playing in a browser window, other participants’ talking in an online meeting, etc. If you want to record your Mac screen with internal audio, you can use third-party screen recorder apps.
If you just want to record the screen with your talking voice, it is good for you. Let’s see how to screen record on Mac with microphone audio via Screenshot Toolbar.
Solution 2: How to screen record on Mac with browser add-on
Besides using Screenshot Toolbar to screen record on Mac with audio, you could also make use of some browser add-ons to record the Mac screen. To record screens on Mac with audio by using browser add-ons, the Chrome browser is highly recommended since it comes with many practical extensions. Screencastify is such a kind of screen record browser add-on.
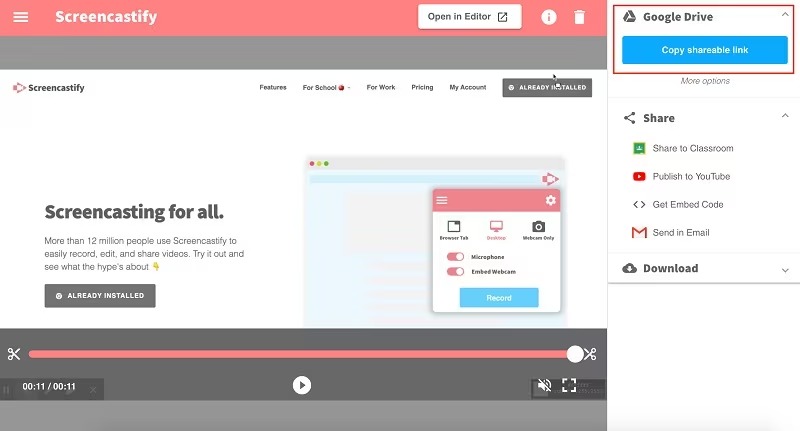
Screencastify is a wonderful screen recorder for chrome free extension that allows you to record the screen of your computer or record videos using your camera. You could follow the below steps to learn how to screen record on Mac with audio by using the Screencastify add-on.
Steps:
- Search and install the Screencastify add-on on your browser.
- Click the extension icon to open up the Recording Control Panel.
- Select the Desktop option.
- To narrate over a recording with your microphone, enable “Microphone” and choose your audio device. The soundbar next to the microphone icon will light up if it is successfully detecting sound. If it’s not, click here to troubleshoot audio issues.
- To embed your webcam into your recording, enable “Embed Webcam” and select your camera.
- To capture the audio coming from your computer, click “Show more options” and enable “System Audio.”
- Click the “RECORD” button.
- Next, a window will pop up asking if you’d like to record your entire desktop or a specific application.
- After you’ve made your selection, click the “Share” button.
- You’ll hear a countdown and then your recording will begin.
- Note: If you are using a Mac, System Audio is not available due to operating system limitations. However, you can still record your tab audio to capture the audio emanating from a specific tab.
The best part of this screen recorder for Chrome is that it allows you to record unlimited videos without any limitations for up to 5 minutes. In this 5-minute time, you won’t face any watermark issues while using this extension but later it will show you a watermark for the free users.
Solution 3: How to screen record specific video on Mac with professional software
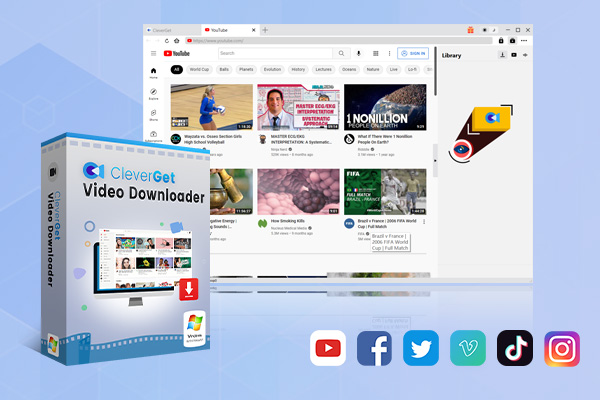
Sometimes you might need to record online videos on Mac for specific use. In such a case, what can you do? How can you screen record specific videos on Mac? You could still use screen recording software to do this like QuickTime player, which is not only a media player but also a screen recorder. To make it easier, here we would like to recommend you CleverGet Video Downloader for Mac, which could help you directly download online videos at high quality. With CleverGet Video Downloader, you don’t need to spend so much time recording. The video downloading is fast and quick.
CleverGet Video Downloader is a professional online video downloader software tool that could help you download online videos from 1000+ video-sharing websites like YouTube, Facebook, Instagram, Vimeo, VEOH, etc. at up to 8K resolution in batch. It could even download YouTube playlists and channels.
The below content will show you how to download specific videos online with CleverGet Video Downloader in detail. Firstly, download and install CleverGet Video Downloader on your computer. CleverGet Video Downloader is a module built in CleverGet.
-
CleverGet Video Downloader
– Support both Windows and Mac versions.
– Enable users to download online videos, movies, TV shows, live streams, etc. from 1000+ websites.
– Detect M3U8 links intelligently with an inherent browser to download videos.
– Download 8K video and audio at 320 kbps without quality loss.
– Support to download TV series episodes of all/certain seasons in batches.
– Download online video to MP4/MKV/WEBM or other available popular formats.
Step 1: Set output directory
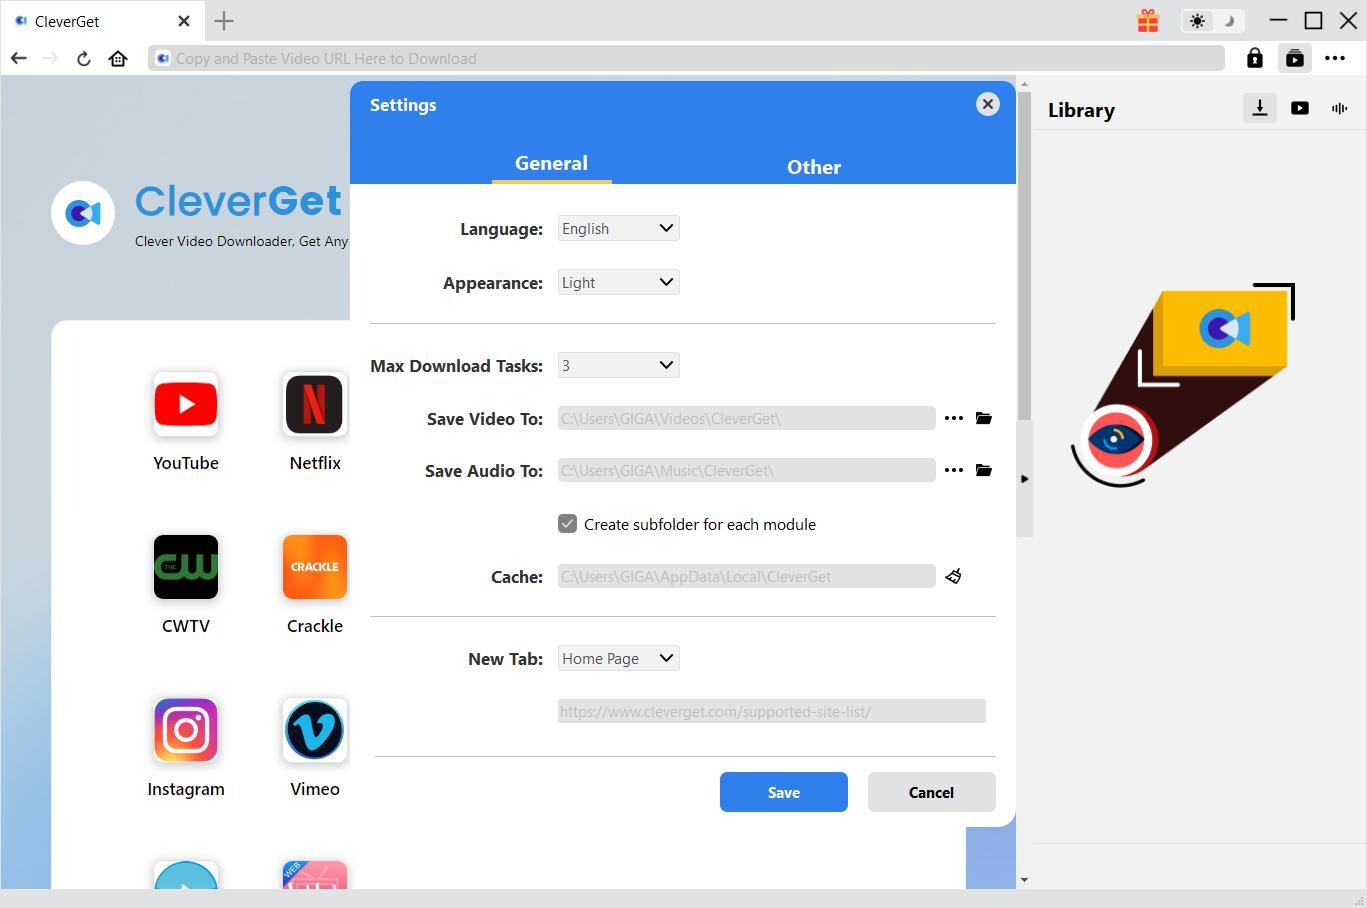
Before you try to download videos from websites, you can decide output directory at will. Kick off CleverGet on your computer after the installation, click the three-dot icon on its top-right corner, and then open the “Settings” option to pop up the detailed settings panel. Under the “General” tab, you can set the output directory in the “Save Video To” box and change other settings if you like. Finally, click the “Save” button.
Step 2: Playback the target video within CleverGet
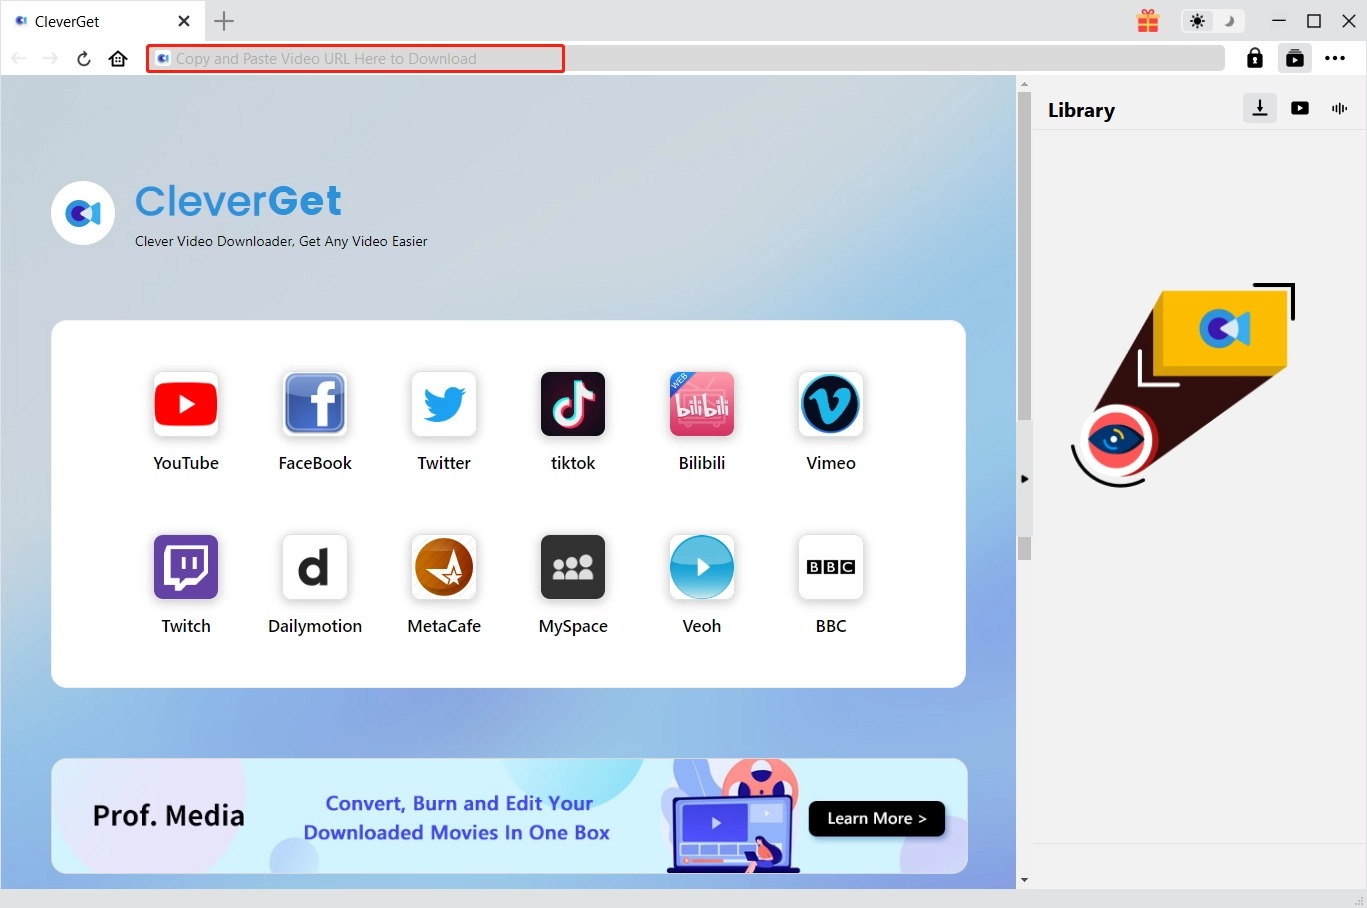
Open the website that contains the video you want to download within CleverGet, and then playback that video. CleverGet will automatically start parsing the video for you. If not, click the bottom right round icon to let it do the parsing.
Step 3: Choose a video for downloading
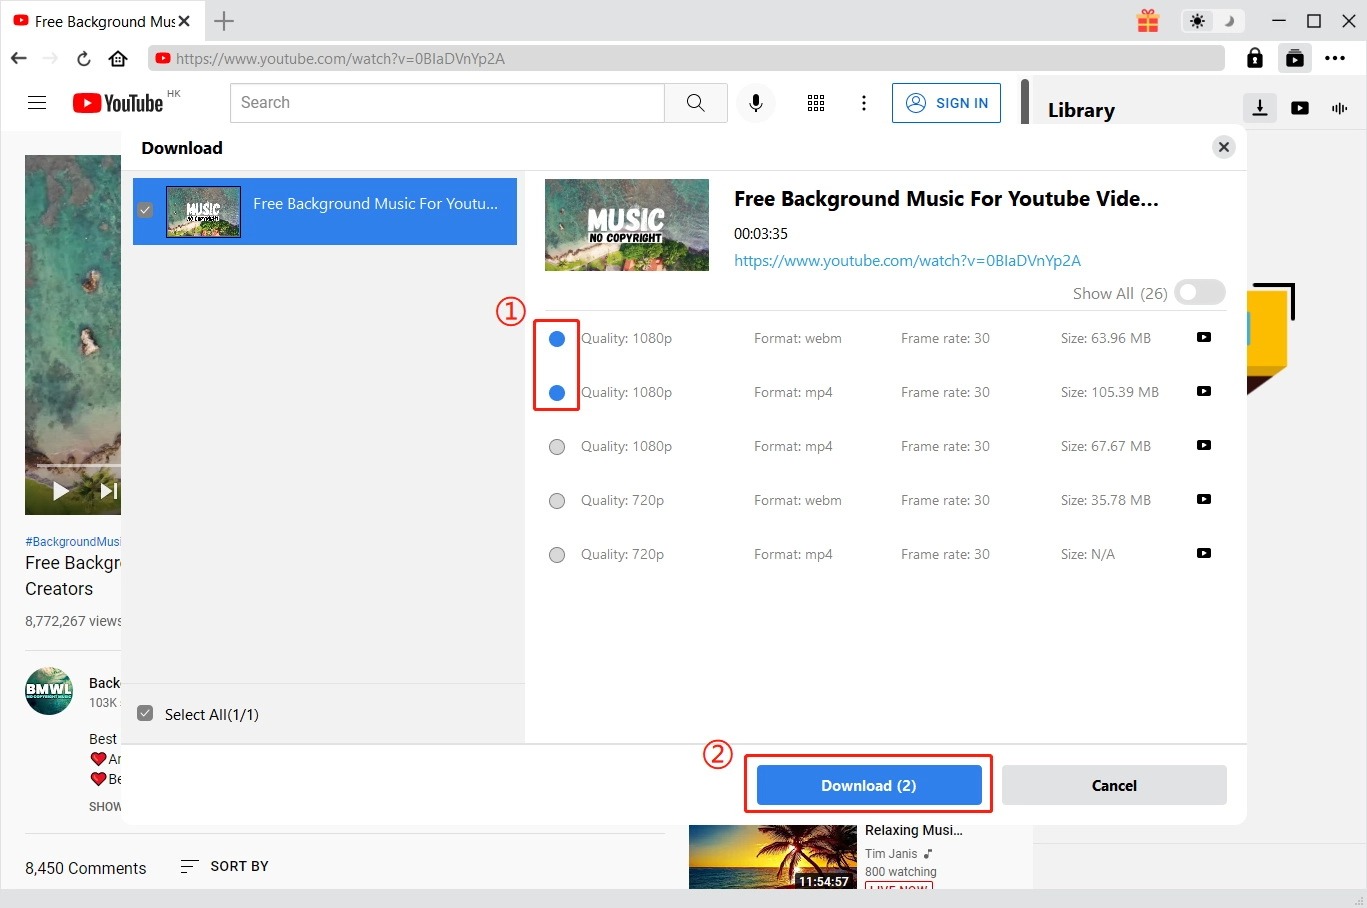
Once CleverGet successfully parses the target video, it will list all available download options to you in different resolutions, frame rates, and sizes. Choose the right one you want to download before you click the blue “Download” button to let CleverGet start downloading videos from the website.
Step 4: Check downloading and downloaded task
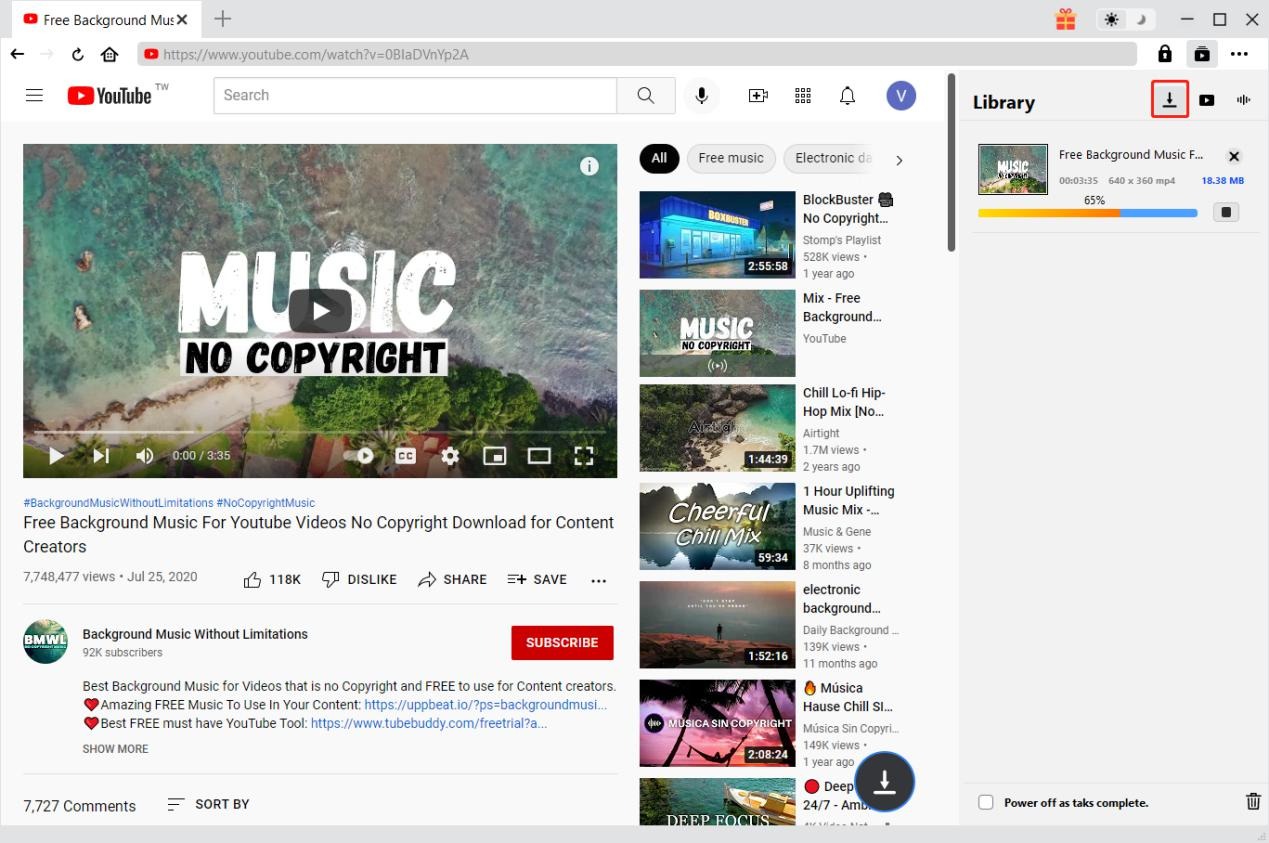
Once the downloading starts, you could see a popup sidebar on the right side, which shows you the detailed downloading process and downloaded results. Once the downloading completes, you could directly playback downloaded video with your default media player, burn to disc, playback with Leawo Blu-ray Player, etc.
Note:
CleverGet provides both a free trial version and a registered version. The free trial version allows 3 free downloads for each module. Therefore, try-before-purchase is necessary. Meanwhile, make sure you have downloaded online videos for personal use only due to the copyright issue.
Further Tips
Before you start recording your screen to make videos, it’s a good idea to do some preparation. Here are some tips to keep in mind:
- Make sure that whatever you want to record is finalized and ready to start, such as a presentation you want to show or a program you’re making a tutorial for.
- Write down some notes to remind you of important points you want to cover in your video.
- Rehearse your video or presentation several times before starting the recording.
- Try to ensure that you record in a quiet space when using a microphone, as you will want to try and minimize any background audio.
- If you make a mistake that needs to be edited out, pause for a moment before continuing. This will make it easier to find and edit the section.
